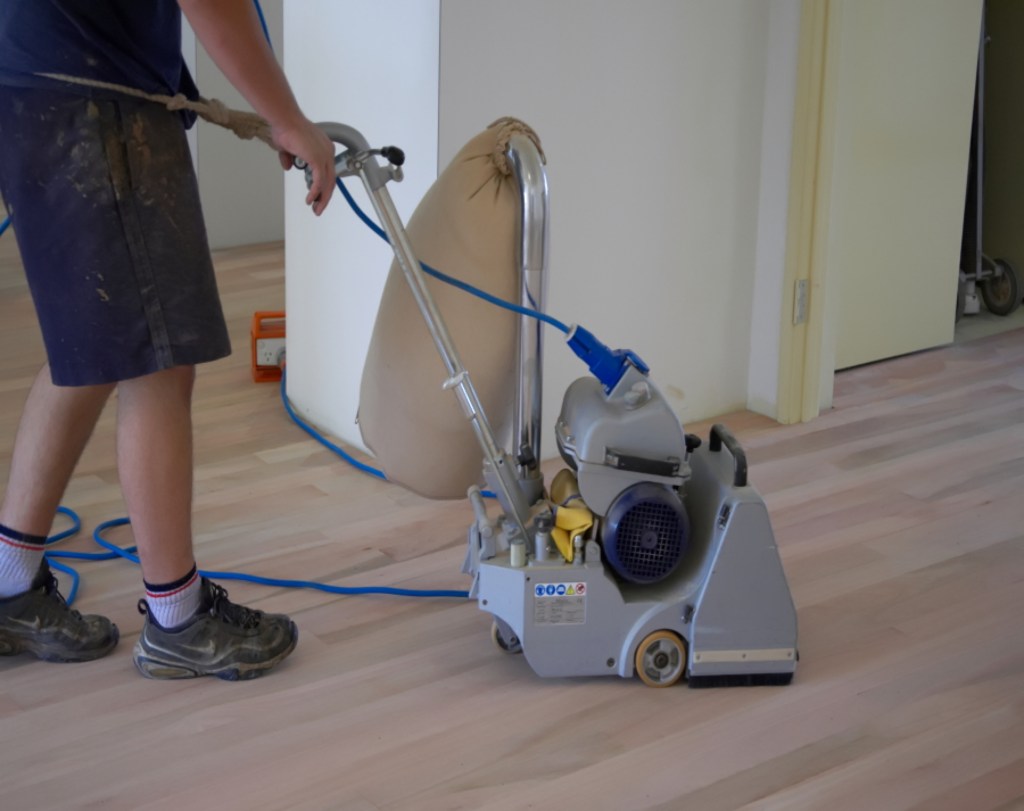
What are the basic stages for sanding a timber floor?
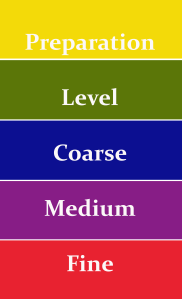
These can be divided up into the following: preparation, level sanding, coarse medium and fine/rotary.
Preparation
The preparation stage basically involves making sure that the floor is ready for sanding: punch and fill any nails to make sure that they are well below the surface, and any staples and tacks are pulled out. Any loose or damaged floorboards need to be glued down or replaced.
Level Sanding

Level sanding is where a belt sander with a relatively low grit, about 40 grit usually, is used to sand the floor at an angle to the run of the boards. If the floor is severely uneven, professionals will often sand the floor diagonally at an angle of between 30 to 45 degrees to flatten the boards adjacent to each other.
Coarse Sanding
Following this, the floor is coarse-sanded, which involves using the same grit and running the belt sander with the run of the board. This is important as it will get out the angled scratches across the boards and result in a much better finish. Following this, an edger will be used to go around the edges of the boards where the belt sander could not reach to sand the boards to the same sanding grit as the belt sander.
Medium Sanding
Medium sanding is the next stage, and this is a progressive sand using 60 grit and then 80 grit sandpaper with a belt sander, which will go with the run of the boards to bring the timber to almost, almost to the stage when it’s ready for coating. An edger is used with the 80 grit to make sure that the floor is evenly sanded to the same level. Bear in mind that edgers are much faster machines and they sand more aggressively than a belt sander can do; there’s no need to use the edger for every stage of the belt sanding activity.
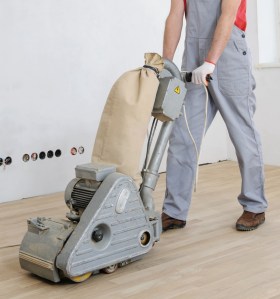
Fine Sanding With a Rotary Sander
The final stage, to make sure that the floor is level for the coating or ready for the coating, is to use a rotary sander to ensure that the floor is ready for the coating. A rotary sander is a 405 mm diameter disc sander or a multi-head sander such as the FlexiSand. This machine is used to do the fine sanding, which is any grit from 100 grit and above. The finish container will advise you of where to finish sanding. So, for example, for waterborne coatings, the container will suggest something between 180 and 220 grit, whereas with solvent-based coatings it will recommend 100 to 120 grit. And then, in the other case, with oils, the recommendation will be between 80 and 100 grit. A rotary sander with a mesh will get the floor ready for coating.
So these are the basic stages of sanding. It’s important not to omit these grades.

Exceptions for Re-Sanding an Existing Floor
The only difference to this list of sanding grades that will be important to remember is if the floor had been previously sanded. You’re simply removing finish and ready to apply new finish. If you are removing all of the finish, everything that we’ve discussed here applies, with the exception of the angled sand or level sand across the boards. A level sand will not be necessary because the floor has already been leveled when it was previously sanded. Simply run the belt sander in the direction of the run of the boards to achieve a good result.

